Development Environment
The instructions are a bit different depending on your development operating system, and whether you want to start developing for iOS or Android. If you want to develop for both Android and iOS, that's fine - you can pick one to start with, since the setup is a bit different.
- Windows
- Mac OS
Installing dependencies
You will need Node, the React Native command line interface, a JDK, and Android Studio.
While you can use any editor of your choice to develop your app, you will need to install Android Studio in order to set up the necessary tooling to build your React Native app for Android.
Node, JDK
We recommend installing Node via Chocolatey, a popular package manager for Windows.
It is recommended to use an LTS version of Node. If you want to be able to switch between different versions, you might want to install Node via nvm-windows, a Node version manager for Windows.
React Native also requires Java SE Development Kit (JDK), which can be installed using Chocolatey as well.
Open an Administrator Command Prompt (right click Command Prompt and select "Run as Administrator"), then run the following command:
choco install -y nodejs-lts openjdk11
If you have already installed Node on your system, make sure it is Node 14 or newer. If you already have a JDK on your system, make sure it is version 11 or newer.
You can find additional installation options on Node's Downloads page.
If you're using the latest version of Java Development Kit, you'll need to change the Gradle version of your project so it can recognize the JDK. You can do that by going to {project root folder}\android\gradle\wrapper\gradle-wrapper.properties and changing the distributionUrl value to upgrade the Gradle version. You can check out here the latest releases of Gradle.
Android development environment
Setting up your development environment can be somewhat tedious if you're new to Android development. If you're already familiar with Android development, there are a few things you may need to configure. In either case, please make sure to carefully follow the next few steps.
Install Android Studio
Download and install Android Studio. While on Android Studio installation wizard, make sure the boxes next to all of the following items are checked:
- Android SDK
- Android SDK Platform
- Android Virtual Device
- If you are not already using Hyper-V:
Performance (Intel ® HAXM)(See here for AMD or Hyper-V) Then, click "Next" to install all of these components.
If the checkboxes are grayed out, you will have a chance to install these components later on.
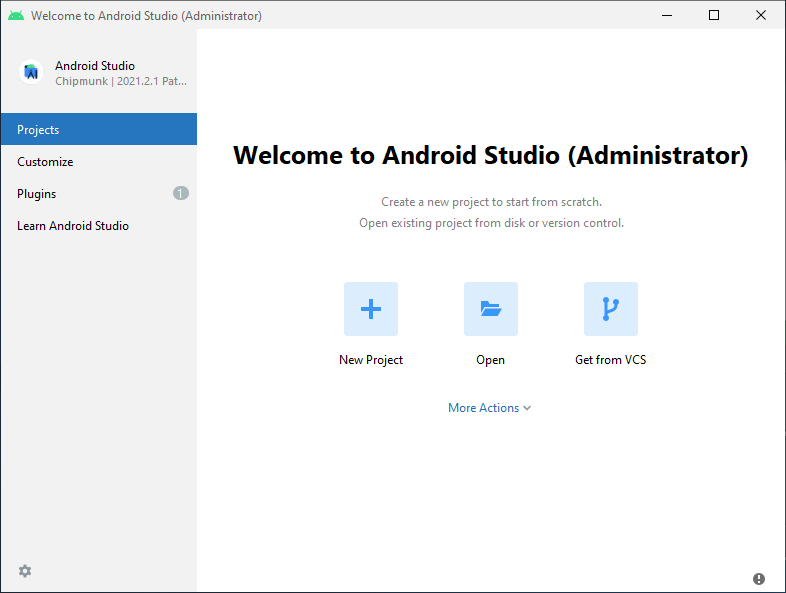
Once setup has finalized and you're presented with the Welcome screen, proceed to the next step.
Install the Android SDK
Android Studio installs the latest Android SDK by default. Building a React Native app with native code, however, requires the
Android 12 (S)SDK in particular. Additional Android SDKs can be installed through the SDK Manager in Android Studio.To do that, open Android Studio, click on "More Actions" button and select "SDK Manager".
The SDK Manager can also be found within the Android Studio "Preferences" dialog, under Appearance & Behavior → System Settings → Android SDK.
Select the "SDK Platforms" tab from within the SDK Manager, then check the box next to "Show Package Details" in the bottom right corner. Look for and expand the Android 12 (S) entry, then make sure the following items are checked:
Android SDK Platform 31
Intel x86 Atom_64 System Image or Google APIs Intel x86 Atom System Image
Next, select the "SDK Tools" tab and check the box next to "Show Package Details" here as well. Look for and expand the "Android SDK Build-Tools" entry, then make sure that
31.0.0is selected.Finally, click "Apply" to download and install the Android SDK and related build tools.
Configure the ANDROID_HOME environment variable
The React Native tools require some environment variables to be set up in order to build apps with native code.
- Open the Windows Control Panel.
- Click on User Accounts, then click User Accounts again
- Click on Change my environment variables
- Click on New... to create a new
ANDROID_HOMEuser variable that points to the path to your Android SDK

The SDK is installed, by default, at the following location:
%LOCALAPPDATA%\Android\SdkcautionYou can find the actual location of the SDK in the Android Studio "Settings" dialog, under Appearance & Behavior → System Settings → Android SDK.
Open a new Command Prompt window to ensure the new environment variable is loaded before proceeding to the next step.
- Open powershell
- Copy and paste Get-ChildItem -Path Env:\ into powershell
- Verify
ANDROID_HOMEhas been added
Add platform-tools to Path
- Open the Windows Control Panel.
- Click on User Accounts, then click User Accounts again
- Click on Change my environment variables
- Select the Path variable.
- Click Edit.
- Click New and add the path to platform-tools to the list. The default location for this folder is:
%LOCALAPPDATA%\Android\Sdk\platform-tools
Installing dependencies
You will need Node, Watchman, the React Native command line interface, a JDK, and Android Studio.
While you can use any editor of your choice to develop your app, you will need to install Android Studio in order to set up the necessary tooling to build app for Android.
Node & Watchman
We recommend installing Node and Watchman using Homebrew. Run the following commands in a Terminal after installing Homebrew:
brew install node
brew install watchman
If you have already installed Node on your system, make sure it is Node 14 or newer.
Watchman is a tool by Facebook for watching changes in the filesystem. It is highly recommended you install it for better performance.
Java Development Kit
We recommend installing the OpenJDK distribution called Azul Zulu using Homebrew.
Run the following commands in a Terminal after installing Homebrew:
brew tap homebrew/cask-versions
brew install --cask zulu11
The Zulu OpenJDK distribution offers JDKs for both Intel and M1 Macs. This will make sure your builds are faster on M1 Macs compared to using an Intel-based JDK.
If you have already installed JDK on your system, make sure it is JDK 11 or newer.
Android development environment
Setting up your development environment can be somewhat tedious if you're new to Android development. If you're already familiar with Android development, there are a few things you may need to configure. In either case, please make sure to carefully follow the next few steps.
Install Android Studio
Download and install Android Studio. While on Android Studio installation wizard, make sure the boxes next to all of the following items are checked:
Android SDK
Android SDK Platform
Android Virtual Device
Then, click "Next" to install all of these components.
cautionIf the checkboxes are grayed out, you will have a chance to install these components later on.
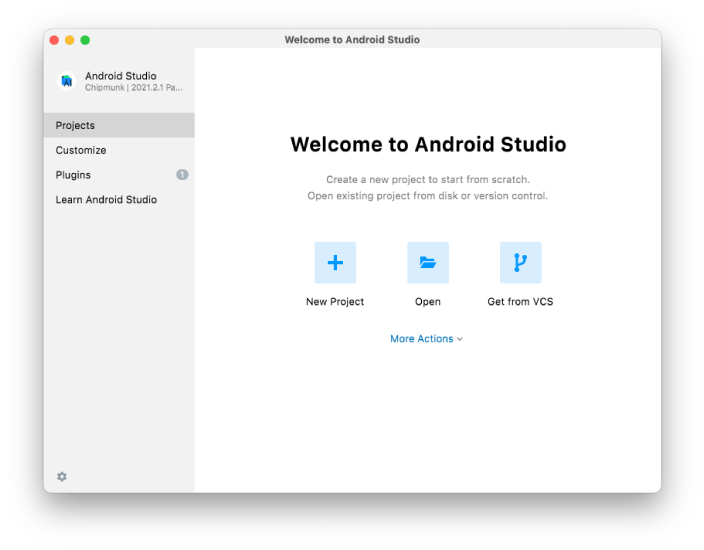
Once setup has finalized and you're presented with the Welcome screen, proceed to the next step.
Install the Android SDK
Android Studio installs the latest Android SDK by default. Building a React Native app with native code, however, requires the
Android 12 (S)SDK in particular. Additional Android SDKs can be installed through the SDK Manager in Android Studio.To do that, open Android Studio, click on "More Actions" button and select "SDK Manager".
 caution
The SDK Manager can also be found within the Android Studio "Preferences" dialog, under Appearance & Behavior → System Settings → Android SDK.
Select the "SDK Platforms" tab from within the SDK Manager, then check the box next to "Show Package Details" in the bottom right corner. Look for and expand the Android 12 (S) entry, then make sure the following items are checked:
Android SDK Platform 31 Intel x86 Atom_64 System Image or Google APIs Intel x86 Atom System Image or (for Apple M1 Silicon) Google APIs ARM 64 v8a System Image Next, select the "SDK Tools" tab and check the box next to "Show Package Details" here as well. Look for and expand the "Android SDK Build-Tools" entry, then make sure that 31.0.0 is selected.
Finally, click "Apply" to download and install the Android SDK and related build tools.
Configure the
ANDROID_SDK_ROOTenvironment variableThe React Native tools require some environment variables to be set up in order to build apps with native code.
Add the following lines to your $HOME/.bash_profile or $HOME/.bashrc (if you are using zsh then ~/.zprofile or ~/.zshrc) config file:
export ANDROID_SDK_ROOT=$HOME/Library/Android/sdk
export PATH=$PATH:$ANDROID_SDK_ROOT/emulator
export PATH=$PATH:$ANDROID_SDK_ROOT/platform-toolscaution.bash_profileis specific tobash. If you're using another shell, you will need to edit the appropriate shell-specific config file.Type
source $HOME/.bash_profileforbashorsource $HOME/.zprofileto load the config into your current shell. Verify that ANDROID_SDK_ROOT has been set by runningecho $ANDROID_SDK_ROOTand the appropriate directories have been added to your path by runningecho $PATH.
Please make sure you use the correct Android SDK path. You can find the actual location of the SDK in the Android Studio "Preferences" dialog, under Appearance & Behavior → System Settings → Android SDK.